Pyautogui - 마우스, 키보드 자동화 예제
[파이썬 Pyautogui를 이용한 마우스, 키보드 자동화]
설치
pip install pyautogui
pip install opencv-python
기본 기능
import pyautogui
a = pyautogui.position() # 현재 마우스 좌표
print(a)
실행결과 >> Point(x=431, y=78)
#이동
pyautogui.moveTo(404,674) #해당 좌표로 이동함
pyautogui.moveTo(404,674,2) #2초동안 이동함
pyautogui.moveRel(0,300) #마우스 현재 위치에서 y로 300만큼 이동

#클릭
pyautogui.click() # 클릭
pyautogui.click(clicks=2,interval=2) #2초 텀으로 2번 클릭
pyautogui.doubleClick() #더블클릭

#타이핑
pyautogui.typewrite("hello") #hello
pyautogui.typewrite(['enter']) # 줄바꿈
pyautogui.typewrite(['a','b','c','enter']) # abc + 줄바꿈 / ['abc']는 실행x
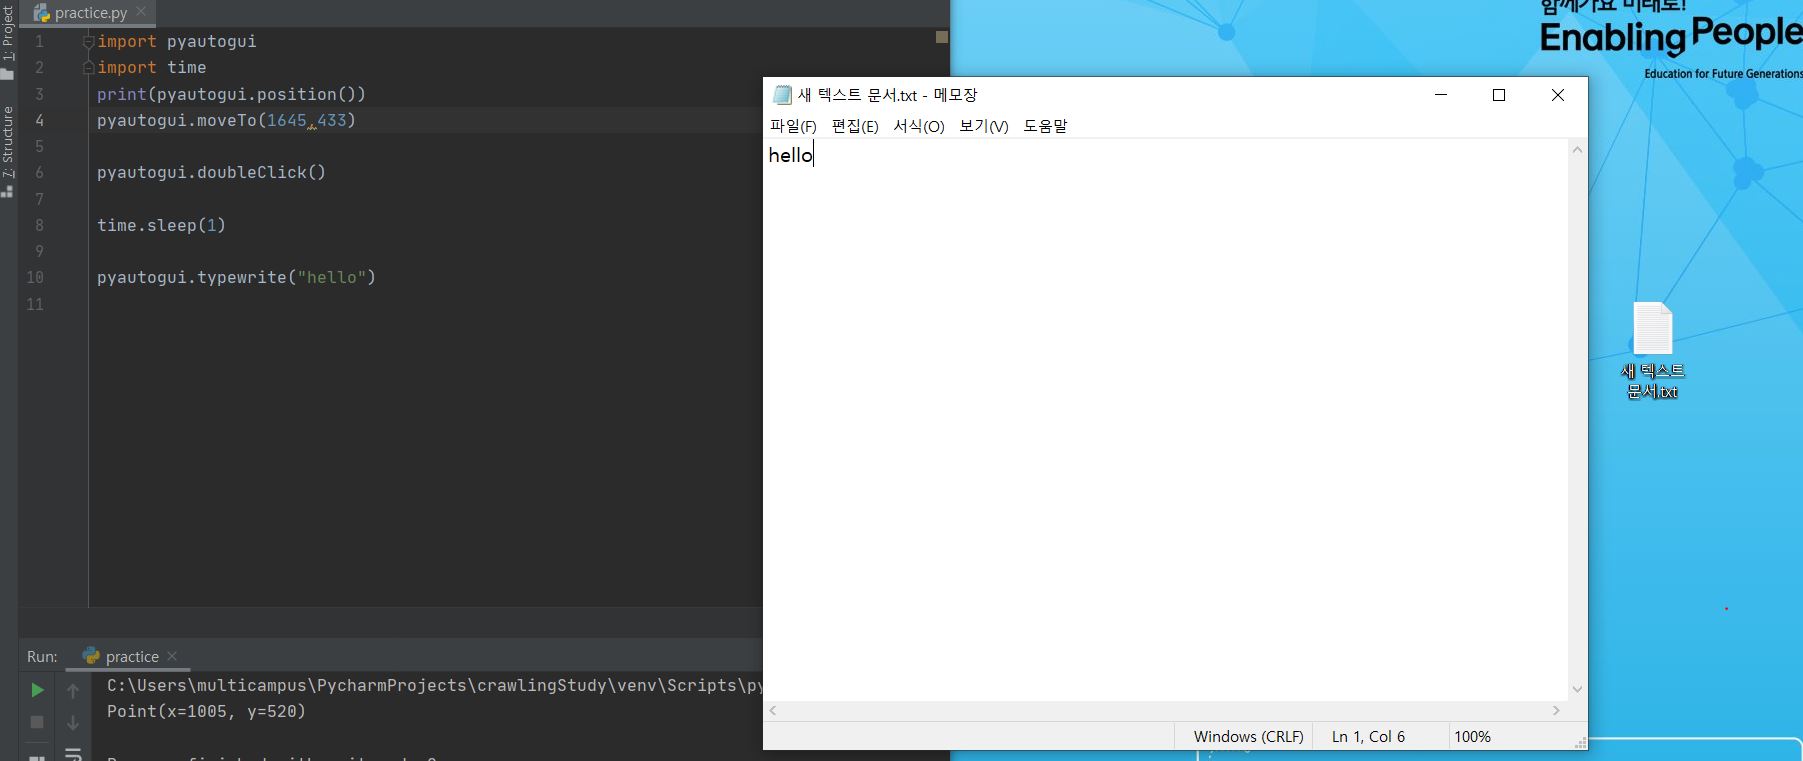
실습1) 메모장 키고 타이핑 하기
import pyautogui
import time

pyautogui.moveTo(1645,433) # 메모장 위치
pyautogui.doubleClick()
time.sleep(1) #메모장 켜지는 시간을 위한 딜레이
pyautogui.typewrite("hello")
결과
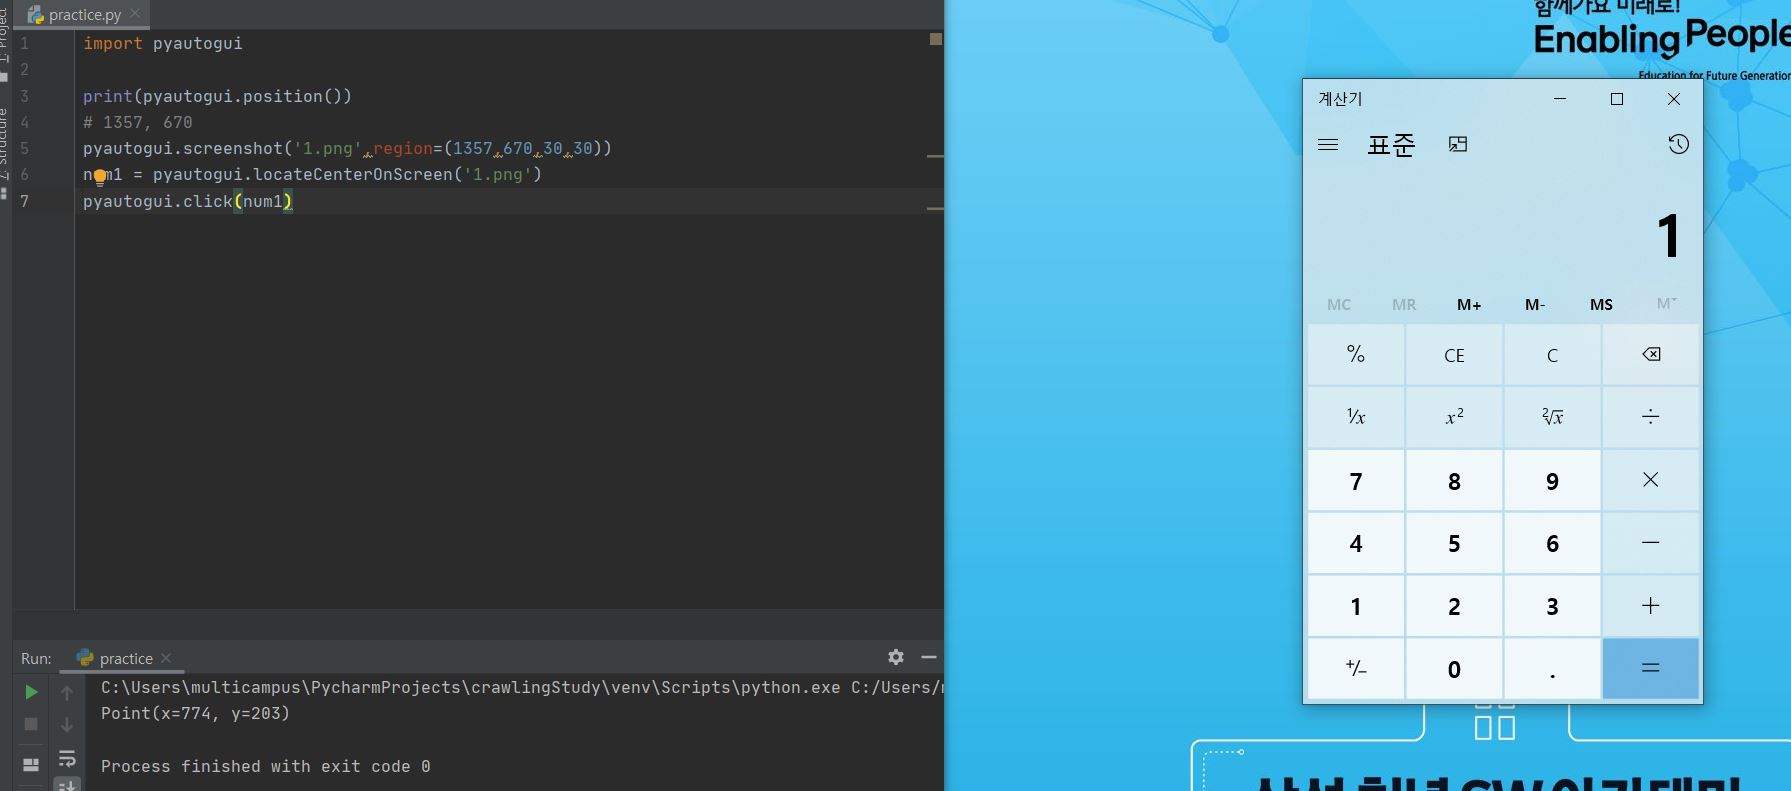
실습2) 클릭할 부분 스크린샷 찍고 클릭하기
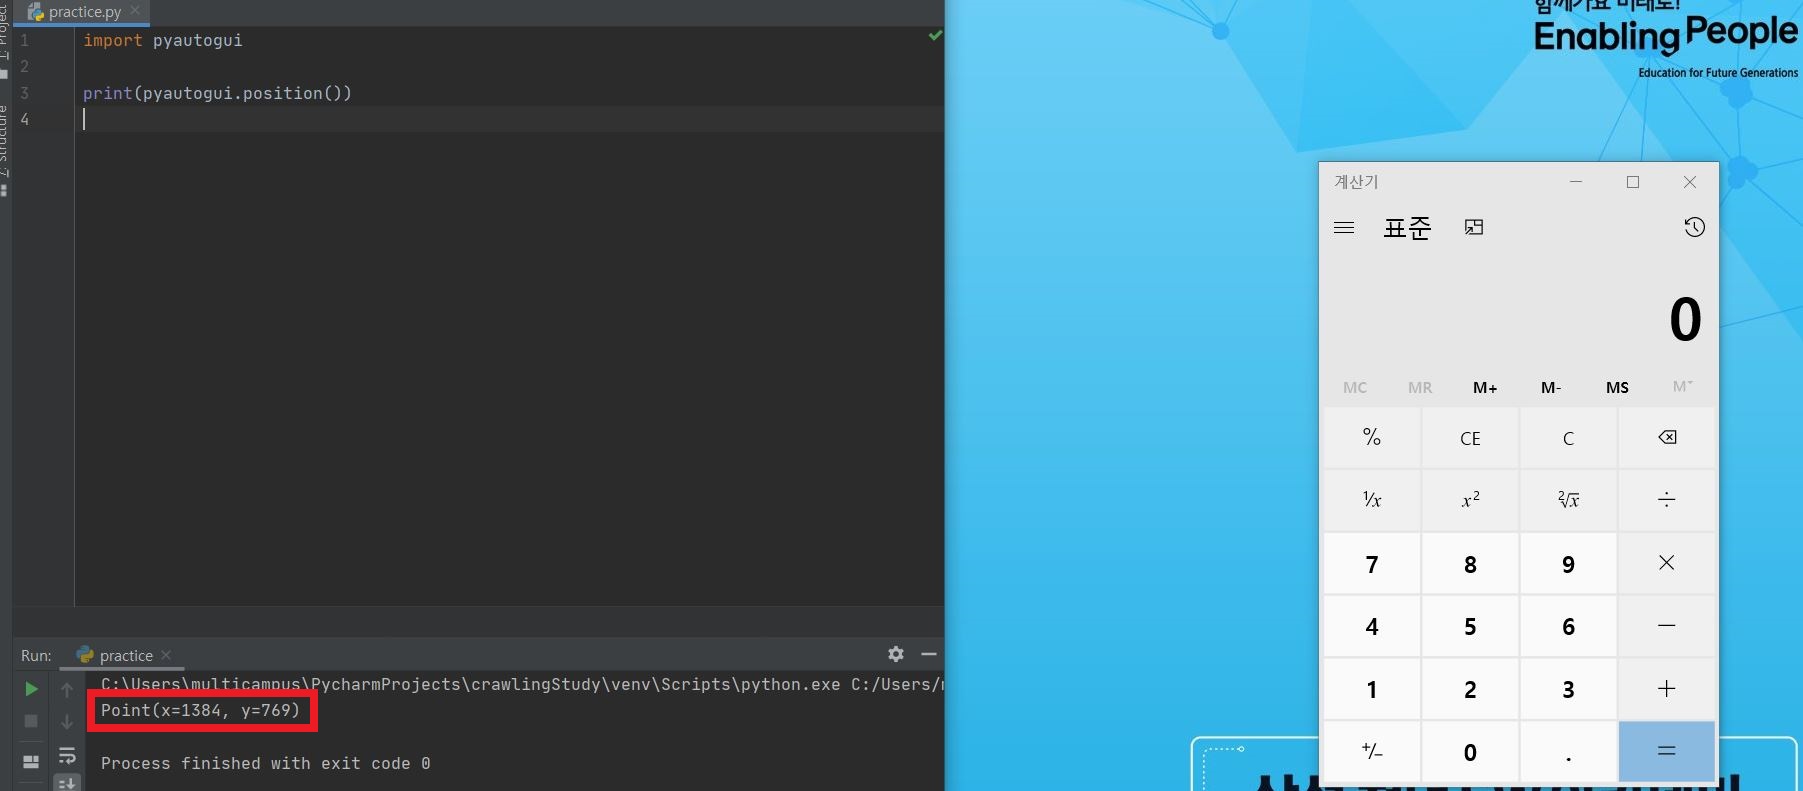
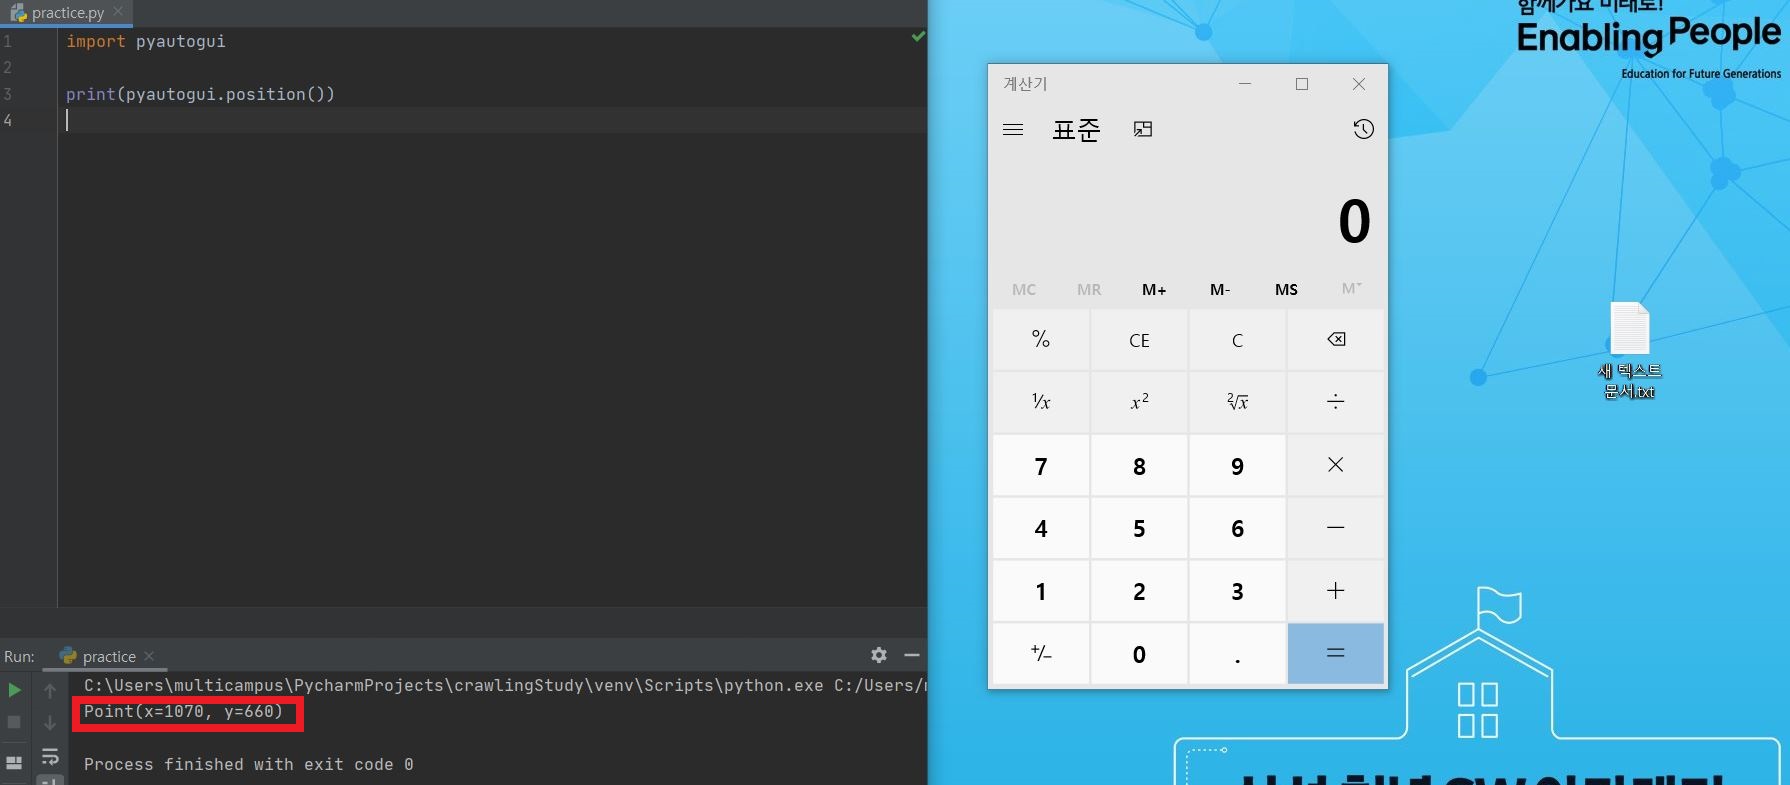
계산기의 위치가 이동하면 숫자 1의 좌표값도 변경됨
이럴땐 클릭할 부분에 스크린샷을 찍어서 좌표값을 구하면 됨
import pyautogui

#숫자 1의 좌표 (x= 1357, y=670)
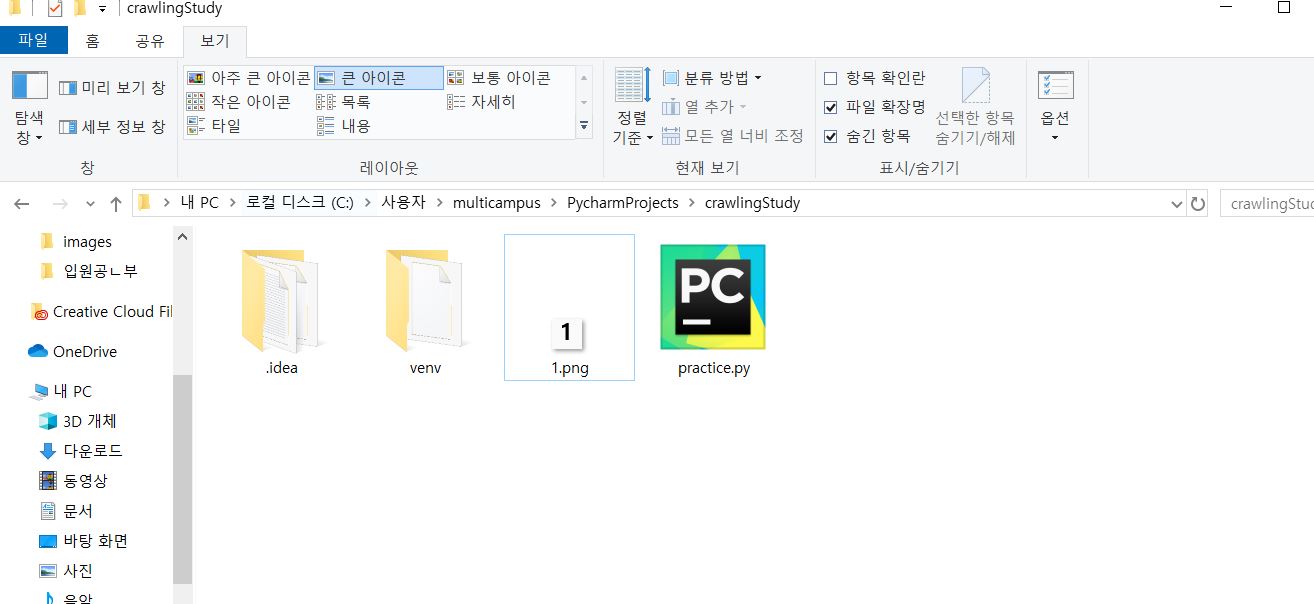
pyautogui.screenshot('1.png',region=(1357,670,30,30))
# '1.png'라는 파일이 생김

num1 = pyautogui.locateCenterOnScreen('1.png') #'1.png'의 center 좌표값을 구함

pyautogui.click(num1) # 1을 클릭
처음 1의 좌표를 구할 때 가로 30, 세로 30으로 자르기 때문에
1의 좌측 대각선 위에 마우스를 위치해야함

Comments